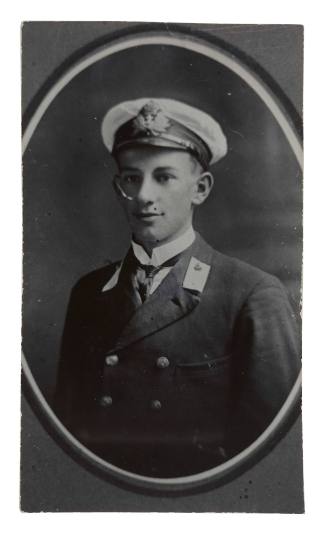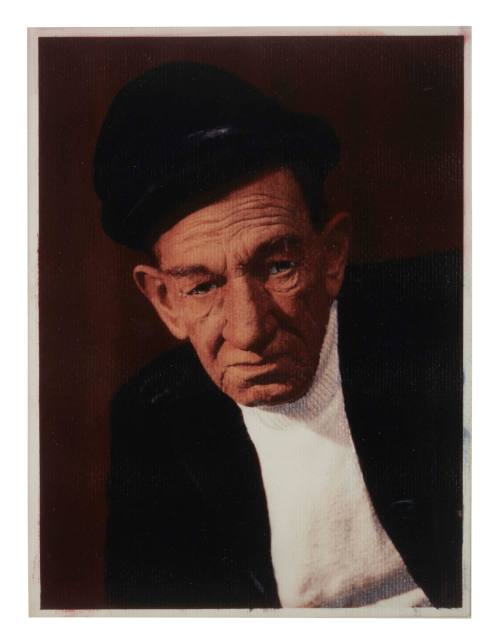
Lieutenant Hubert Edward ‘Ted’ Carse
Date1960s
Object number00055859
NamePhotograph
MediumColoured black and white photographic print on paper.
DimensionsOverall: 207 × 155 mm
ClassificationsPhotographs
Credit LineAustralian National Maritime Museum Collection purchased with the support of the Australian Government through the National Cultural Heritage Account and the Australian National Maritime Museum Foundation through the generosity of the families of Ted Carse's brothers.
DescriptionStudio portrait of Lieutenant Hubert Edward ‘Ted’ Carse, commander of KRAIT during Operation Jaywick.HistoryHubert Edward Carse had joined the Royal Australian Navy as a 13 year old Cadet Midshipman and resigned his commissionin 1921. Following the outbreak of the Second World War, he was mobilised by proclamation and reported for duty with the rank of Sub-Lieutenant in the Royal Australian Naval Reserve. He was promoted Lieutenant (provisional) on 4 January 1943, joined Z Force later the same month, and was assigned command of KRAIT during Operation Jaywick.
On the night of 26 September 1943, six members of Australia’s Z Special Unit carried out a daring clandestine raid against Imperial Japanese shipping in Singapore Harbour. To avoid detection, the men had been transported deep into enemy territory aboard a Japanese-built fishing vessel, assumed the appearance of local fishermen, and launched their attack using folding kayaks and limpet mines. The mission, Operation Jaywick, was a complete success, resulting in the damage or destruction of seven Japanese ships and no Allied losses.
SignificanceThis photograph is significant due to its association with Lieutenant Hubert 'Ted' Carse, who acted as MV KRAIT's master and navigator during Operation Jaywick, and was largely responsible for the vessel's successful return voyage to Singapore Harbour (and by extension the successful outcome of the raid).