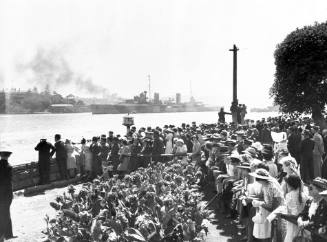
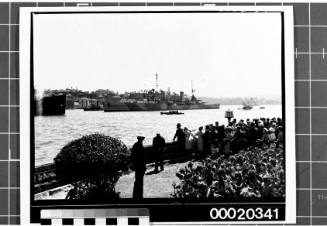
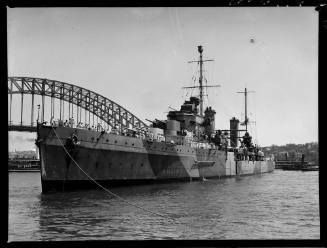
HMAS SYDNEY II returning to Sydney
Photographer
Samuel J Hood Studio
(Australian, 1899 - 1953)
Date10 February 1941
Object number00020997
NamePhotograph
MediumSilver gelatin print
DimensionsOverall: 158 x 206 mm
ClassificationsPhotographs
Credit LineANMM Collection
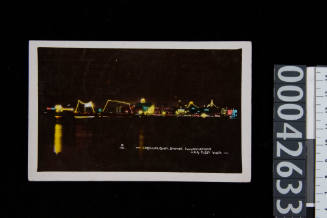
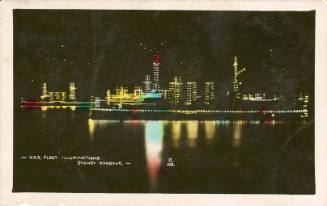
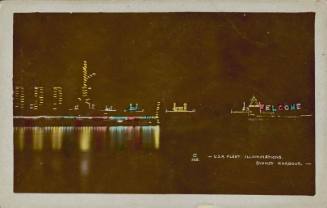
DescriptionHMAS SYDNEY is shown near the Sydney Harbour Bridge mooring at Circular Quay on 10 February 1941. SYDNEY was returning from successful service in the Mediterranean Sea and thousands of people lined the foreshores to welcome the ship into Sydney Harbour. SYDNEY is shown in its geometric dazzle paint scheme, which had been painted on immediately after the Cape Spada action.
SignificanceThe Samuel J Hood photographic collection records an extensive range of maritime activity on Sydney Harbour, including sail and steam ships, crew portraits, crews at work, ship interiors, stevedores loading and unloading cargo, port scenes, pleasure boats and harbourside social activities from the 1890s through to the 1950s. They are also highly competent artistic studies and views - Hood was regarded as an important figure in early Australian photojournalism. Hood’s maritime photographs are one of the most significant collections of such work in Australia.