Photographs and postcards collected by Arthur Thomas Wood of HMAS SYDNEY II
Date1938-1941
Object numberANMS0845
NameArchive series
MediumPaper
ClassificationsPhotographs
Credit LineANMM Collection Gift from J Buckton
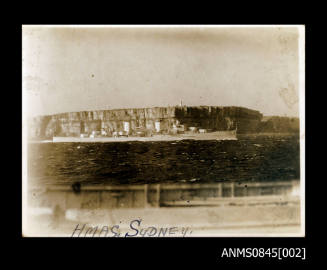
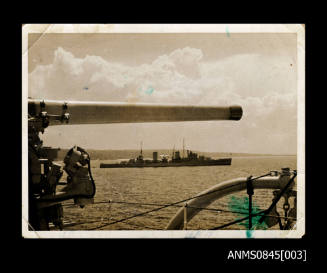
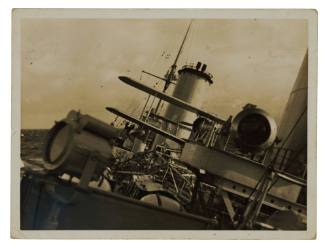
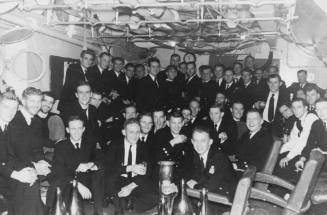
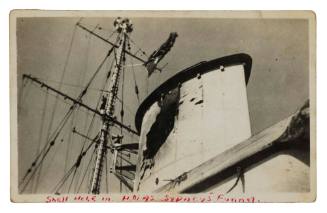
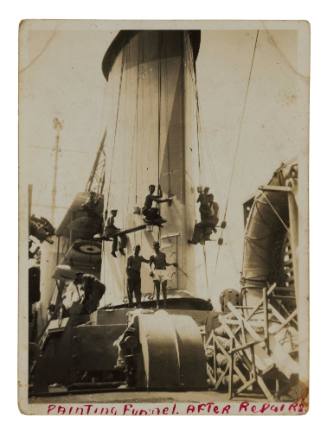
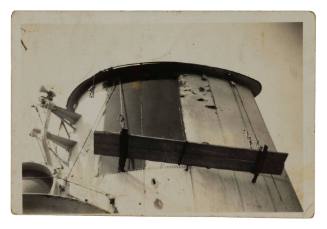
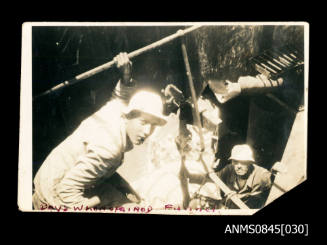
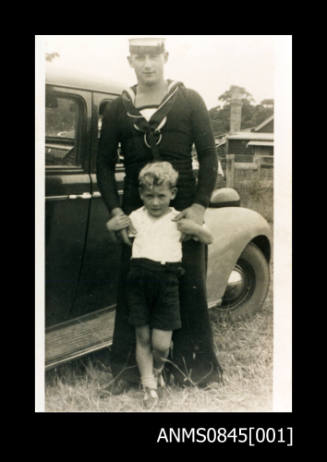
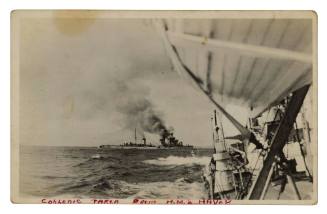
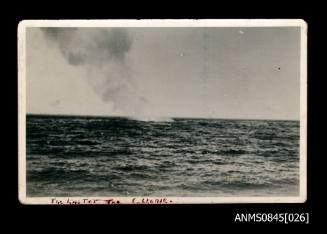
DescriptionThis archive collection features photographs and postcards collected by Able Seaman Arthur Thomas Wood during his service in HMAS SYDNEY (II). It features HMA Ships SYDNEY, HOBART, AUSTRALIA, and HM Ships GLOUCESTER, HAVOK and EAGLE. Images depicted include sailors, funnel repairs, bombing scenes and the sinking of the Italian cruiser BARTOLOMEO COLLEONI in the Mediterranean. There are also images of scenes and tourist attractions in Crete, Singapore, Greece, and Australia.HistoryAble Seaman Arthur Thomas Wood was born 21 April 1921 at Berry in New South Wales, and joined the Royal Australian Navy in 1938 at the age of 17. After training at HMAS CEREBUS he joined HMAS SYDNEY in early 1939. When World War II was declared, SYDNEY was ordered to serve in the Mediterranean for escort duty. Wood was aboard SYDNEY when it sank the Italian cruisers ESPERO and BARTOLOMEO COLLEONI in July 1940.
When the Pacific War began, SYDNEY returned to Australia and was based in Fremantle. There, Wood met Vicki Marsden and they married within the same week. Later that week he departed with SYDNEY for escort duty, and never returned. On 19 November 1941, SYDNEY was sunk by the German auxiliary cruiser KORMORAN off the West Australian coast. Able Seaman Arthur Thomas Wood died at the age of 20.
The loss of HMAS SYDNEY was the worst suffered by the Royal Australian Navy. SYDNEY sailed from Fremantle on Armistice Day, 11 November 1941 to escort the troopship ZEALANDIA to the Sunda Strait. Returning to Fremantle along the north-west coast of Western Australia, an unidentified vessel was sighted on 19 November 1941 some 209 kilometres west of Shark Bay.
The ship, the German raider KORMORAN disguised as the Dutch merchantman STRAAT MALAKKA, took some time in identifying itself and deceptively broadcast a 'suspicious ship' message. SYDNEY's efforts to establish the true identity of the vessel resulted in closing the range to a point where she no longer had the advantage of her superior armament. With the unknown ship not understanding the middle two letters of its secret sign SYDNEY signalled in plain language 'Show your secret sign'. The Dutch flag was subsequently struck to be replaced with the German Naval Ensign. The KORMORAN opened fire on SYDNEY hitting SYDNEY a number of times. Within 55 minutes, both ships had been severely damaged. The KORMORAN was subsequently abandoned by its crew whilst HMAS SYDNEY was last sighted on fire drifting over the horizon.
Of SYDNEY's total complement of 42 officers and 603 ratings, none survived. The only material evidence recovered from SYDNEY was an Australian naval type Carley life-float recovered eight days after the action along with an Australian naval pattern life-belt both now held at the Australian War Memorial.
The loss of SYDNEY was devastating for the Royal Australian Navy and the Australian public. Theories have circulated on the actual chain of events on that fateful day including the participation of German and/or Japanese submarines.
The wreck of HMAS SYDNEY was located on 16 March 2008 near the coast of Steep Point Western Australia, 66 years after it sank. It was located 10 kilometres from the German ship KORMORAN.
SignificanceThese photographs and postcards depict some of the sailors, equipment and activities of HMAS SYDNEY in the months prior to the sinking of the vessel. They provide an interesting commentary of the operations and work carried out aboard HMAS SYDNEY prior to its fateful end, such as the sinking of Italian ships ESPERO and BARTOLOMEO COLLEONI in the Mediterranean.

1938-1941
19 July 1940
July 1940

19 July 1940
1938-1941
19 July 1940
Archive Series (item)/Archive Item (series)